Setting up your own DNS server can feel like dark magic, but it is actually one of the most rewarding ways to understand how the internet routes traffic. If you want to host your own domain's DNS (e.g., ns1.yourdomain.com), BIND9 is the industry standard. (As a sidenote feel free to use VIM, I'm using it but nano is beginer friendly)
This guide covers 100% of the steps required to configure BIND9 as a public, authoritative nameserver on Ubuntu 24.04 and Debian.
Prerequisites
- A fresh Ubuntu (24.04+) or Debian server.
- A registered domain name (we'll use example.com in this guide).
- Your server's public IPv4 address.
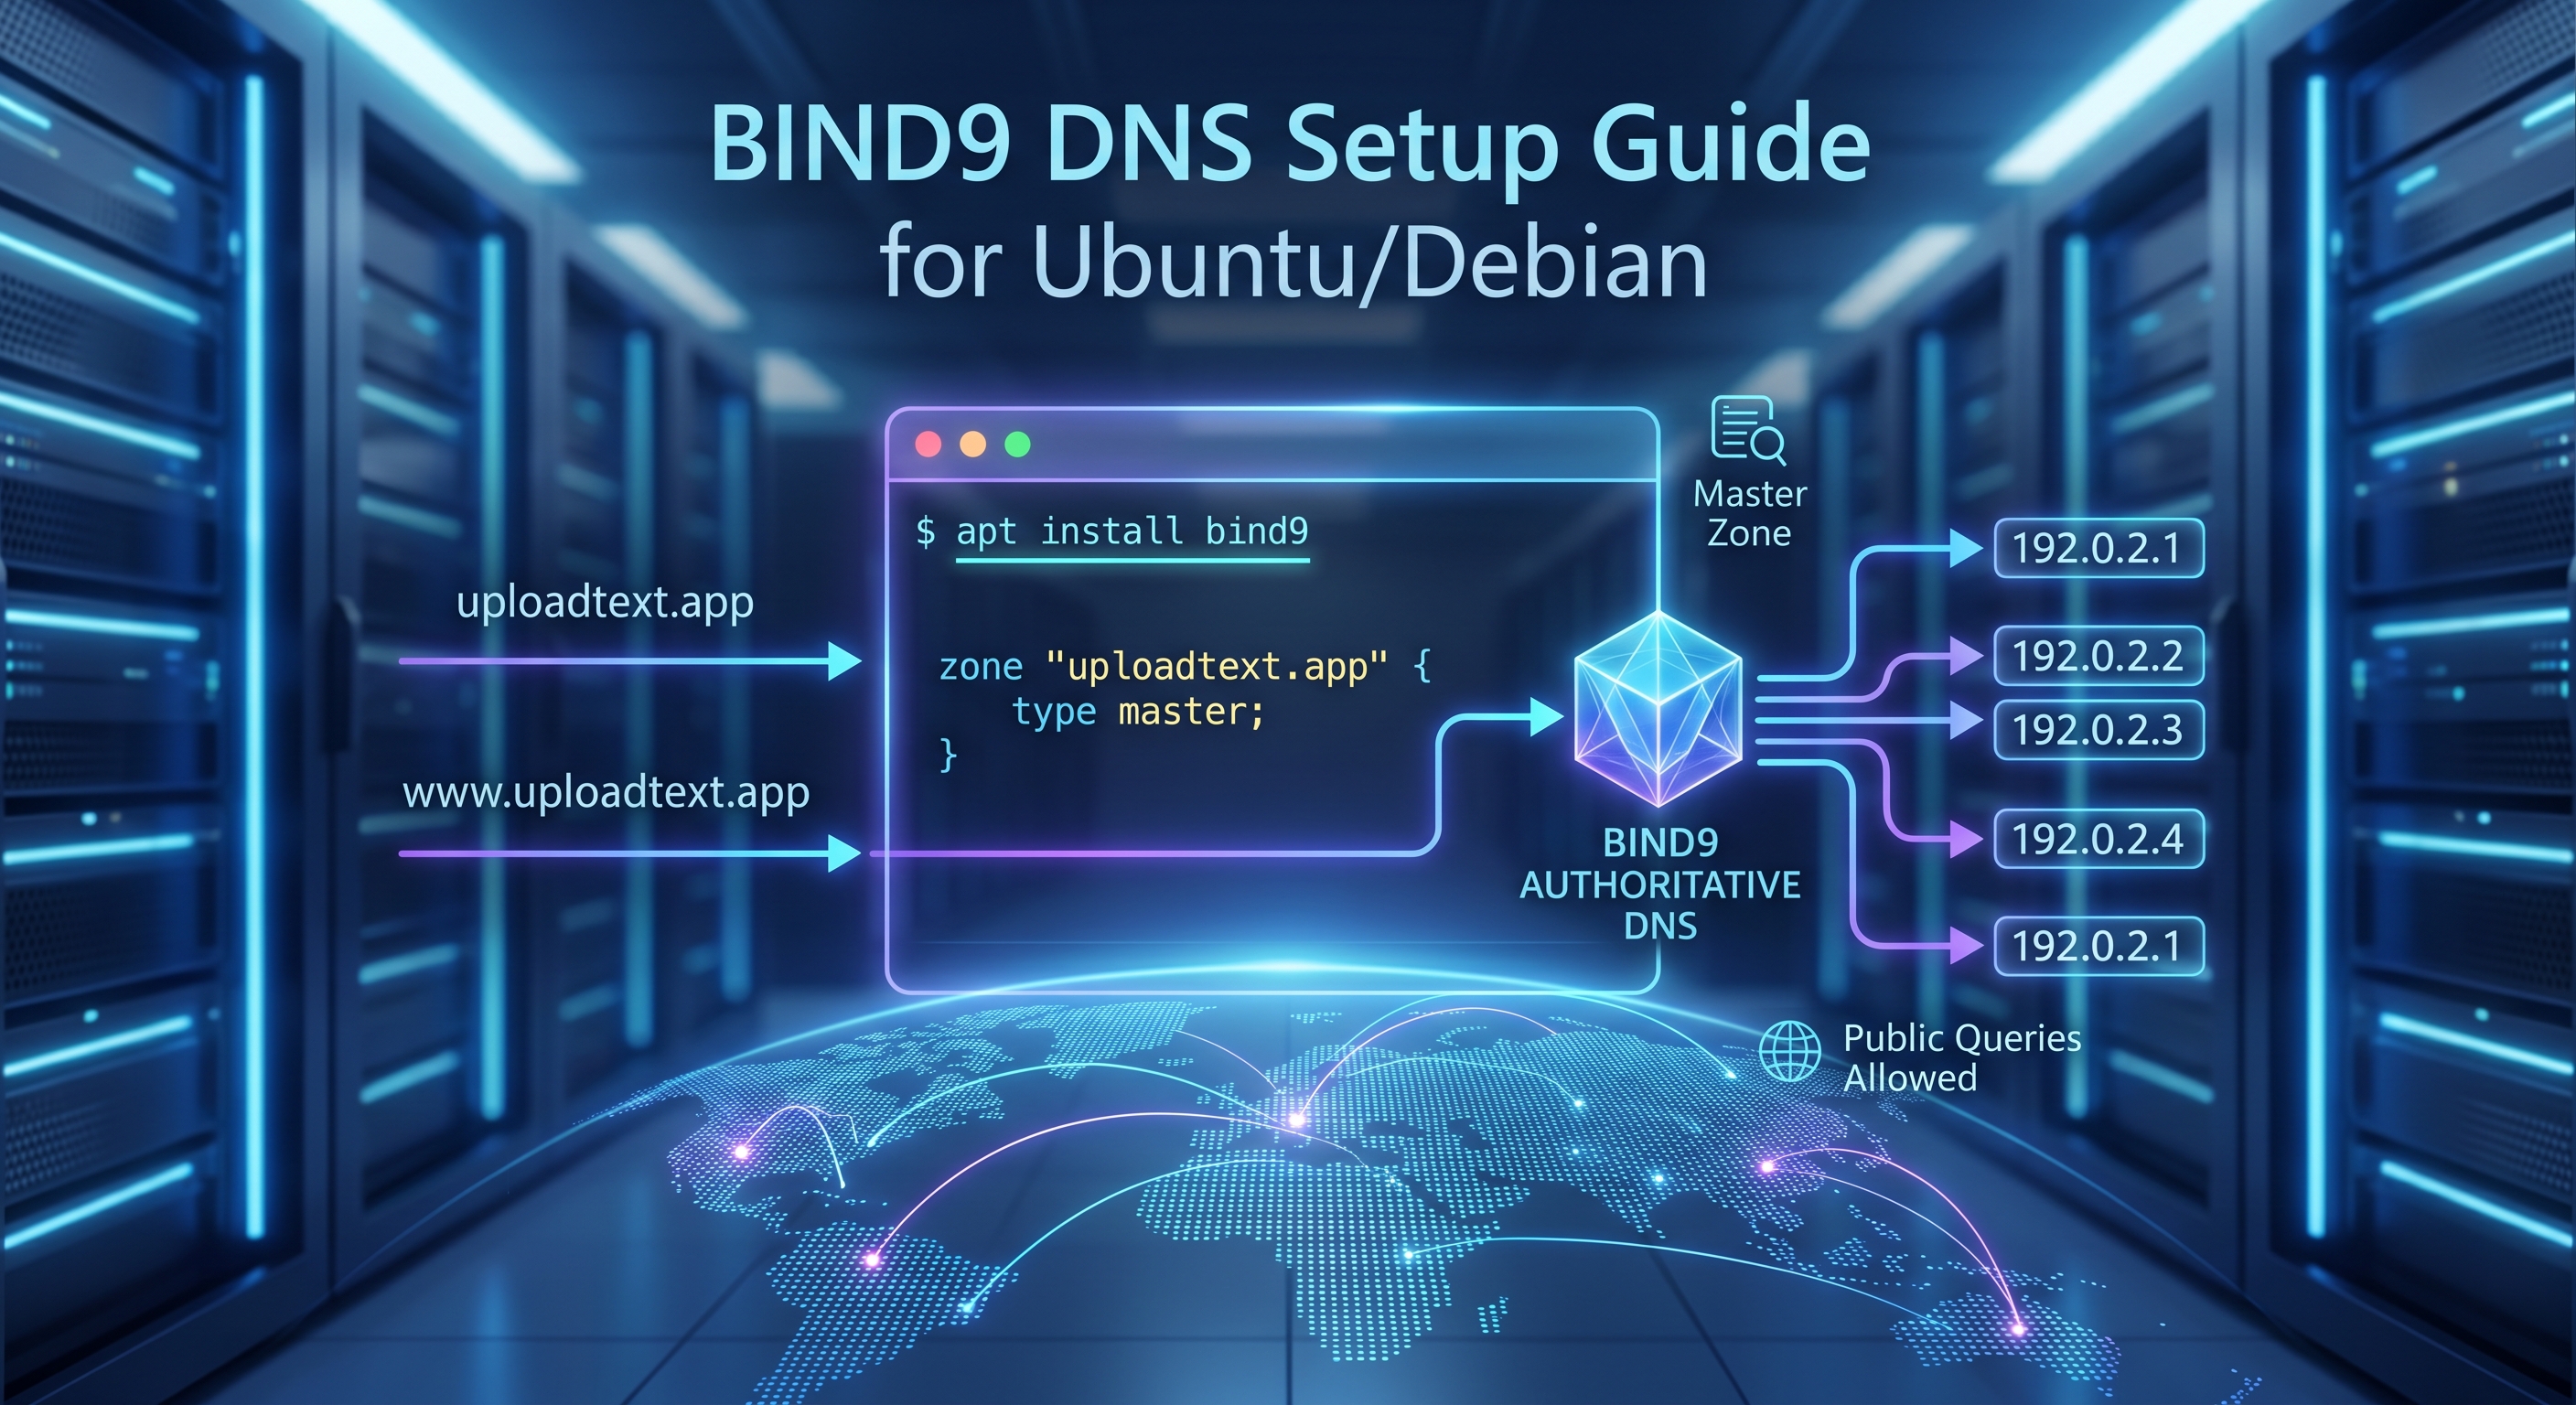
Step 1: Install BIND9
First, ensure your package lists are up to date and install the core BIND9 packages along with its utility tools.
sudo apt update
sudo apt install bind9 bind9utils bind9-doc dnsutils
Step 2: Lock Down Security (The Recursion Trap)
By default, BIND might allow "recursion," meaning it will look up outside domains (like google.com) for anyone who asks. If you leave this open to the public internet, hackers can use your server to launch DNS Amplification DDoS attacks.
Since we only want this server to be an authoritative host for our domain, we need to turn public recursion off.
Open the options file:
sudo nano /etc/bind/named.conf.options
Ensure your configuration looks like this to allow the world to query your specific domain, but block them from using your server as a general resolver:
options {
        directory "/var/cache/bind";

        // CRITICAL SECURITY SETTINGS
        allow-query { any; };   // Allows the world to ask about your domain
        recursion no;           // Prevents your server from being used in DDoS attacks

        dnssec-validation auto;
        listen-on-v6 { any; };
};
Step 3: Define Your Local Zone
Next, you need to tell BIND that it is the master of your specific domain.
Open the local configuration file:
sudo nano /etc/bind/named.conf.local
Add the following block to the end of the file, replacing example.com with your actual domain name:
zone "example.com" {
    type master;
    file "/etc/bind/zones/db.example.com";
};
Step 4: Create the Zone File
Now we create the actual "phonebook" that maps your domain to your server's IP address. It is best practice to keep these in a dedicated zones directory.
Create the directory:
sudo mkdir -p /etc/bind/zones
Create and open your new zone file:
sudo nano /etc/bind/zones/db.example.com
Paste the following configuration into the file. Important: Replace example.com with your domain and YOUR_SERVER_IP with your actual public IPv4 address!
$TTL    604800
@       IN      SOA     ns1.example.com. admin.example.com. (
                              2026050101 ; Serial (YYYYMMDDXX format)
                              604800     ; Refresh
                              86400      ; Retry
                              2419200    ; Expire
                              604800 )   ; Negative Cache TTL
;
; Name Servers (NS)
@       IN      NS      ns1.example.com.
@       IN      NS      ns2.example.com.

; A Records for Name Servers (Glue)
ns1     IN      A       YOUR_SERVER_IP
ns2     IN      A       YOUR_SERVER_IP

; A Records for the Domain
@       IN      A       YOUR_SERVER_IP
www     IN      A       YOUR_SERVER_IP
The Golden Rule of BIND: Every single time you make a change to this file in the future, you must increment the Serial Number (e.g., from 2026050101 to 2026050102). If you forget, other servers around the world will ignore your updates!
Step 5: Verify and Restart
BIND is notoriously strict about syntax. A single missing semicolon will crash the service. Always test your files before restarting.
1. Check the main config syntax:
sudo named-checkconf
(If it returns nothing, your syntax is perfect).
2. Check your zone file syntax:
sudo named-checkzone example.com /etc/bind/zones/db.example.com
(You should see an OK message).
3. Restart the BIND9 service to apply changes:
sudo systemctl restart bind9
Step 6: Configure the Firewall
If your server has the Uncomplicated Firewall (UFW) enabled, you must open port 53 for DNS traffic. Ubuntu provides a pre-configured profile for BIND.
sudo ufw allow Bind9
Final Step: Register Your "Glue Records"
Your Ubuntu server is now fully configured and ready to answer queries! However, the rest of the internet doesn't know it exists yet.
To make it live, log into the dashboard of your domain registrar (Namecheap, GoDaddy, Cloudflare, etc.) and complete these two steps:
- Register Custom Nameservers (Glue Records): Look for a setting called "Advanced DNS" or "Personal DNS Servers" and map ns1.example.com and ns2.example.com to your server's IP address.
- Change Your Nameservers: Go to your domain's main settings and change the primary and secondary nameservers to ns1.example.com and ns2.example.com.
DNS propagation can take anywhere from a few minutes to 48 hours. Once it updates, your very own BIND9 server will be running the show.
D
About Daniel
Technical writer and developer at DigitalCodeLabs with expertise in web development and server management.
Search
Categories
Related Posts
Subscribe
Get the latest posts delivered straight to your inbox.